Looking for a quick and healthy snack that requires zero cooking?
These no-bake vegan and gluten-free protein bars are your new best friend! With just 10 minutes of prep time, you’ll have delicious, wholesome bars packed with oats, nut butter, and plant-based protein.
Whether you need a post-workout boost or a midday pick-me-up, these bars have you covered.
Plus, they’re super easy to customize with your favorite add-ins like chia seeds, chocolate chips, or dried fruit.
How to Make Vegan Gluten-Free Protein Bars
Equipment
- 1 Large mixing bowl
- 1 Spatula or wooden spoon
- 1 Measuring cups and spoons
- 1 8x8-inch baking dish or pan
- 1 Parchment paper
- 1 Refrigerator or freezer
Ingredients
- 1 ½ Cups gluten-free rolled oats
- ½ Cup plant-based protein powder (vanilla or chocolate flavor)
- ½ cup almond butter (or peanut butter)
- ¼ Cup maple syrup (or agave syrup)
- 2 tbsp chia seeds (optional, for added texture and fiber)
- ¼ Cup almond milk (or any plant-based milk)
- teaspoon 1 teaspoon vanilla extract
- ⅓ Cup dark chocolate chips optional, for topping or mixing in
Instructions
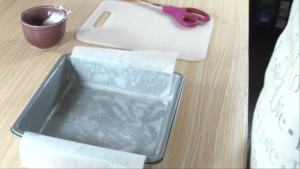
- Prepare the baking dish: Line an 8x8-inch baking dish with parchment paper, letting the paper hang over the sides for easy removal later.
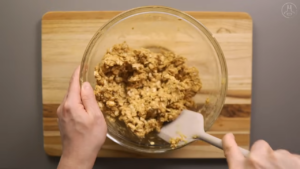
- Mix dry and wet ingredients: In a large mixing bowl, combine the gluten-free oats, protein powder, and chia seeds. Stir well to ensure everything is evenly mixed. Add the almond butter, maple syrup, almond milk, and vanilla extract to the bowl. Mix thoroughly with a spatula or wooden spoon until a thick, sticky dough forms.
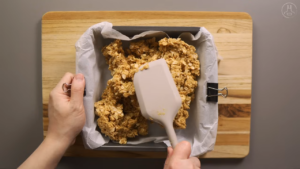
- Press into the pan: Transfer the dough into the prepared baking dish. Press it down evenly with the spatula to create a flat layer. If you’re using chocolate chips, sprinkle them on top and gently press them into the bars.
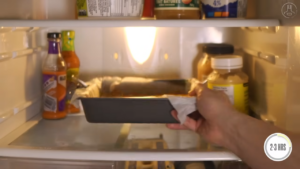
- Refrigerate: Place the dish in the refrigerator and chill for at least 2 hours, or until the mixture is firm and set.
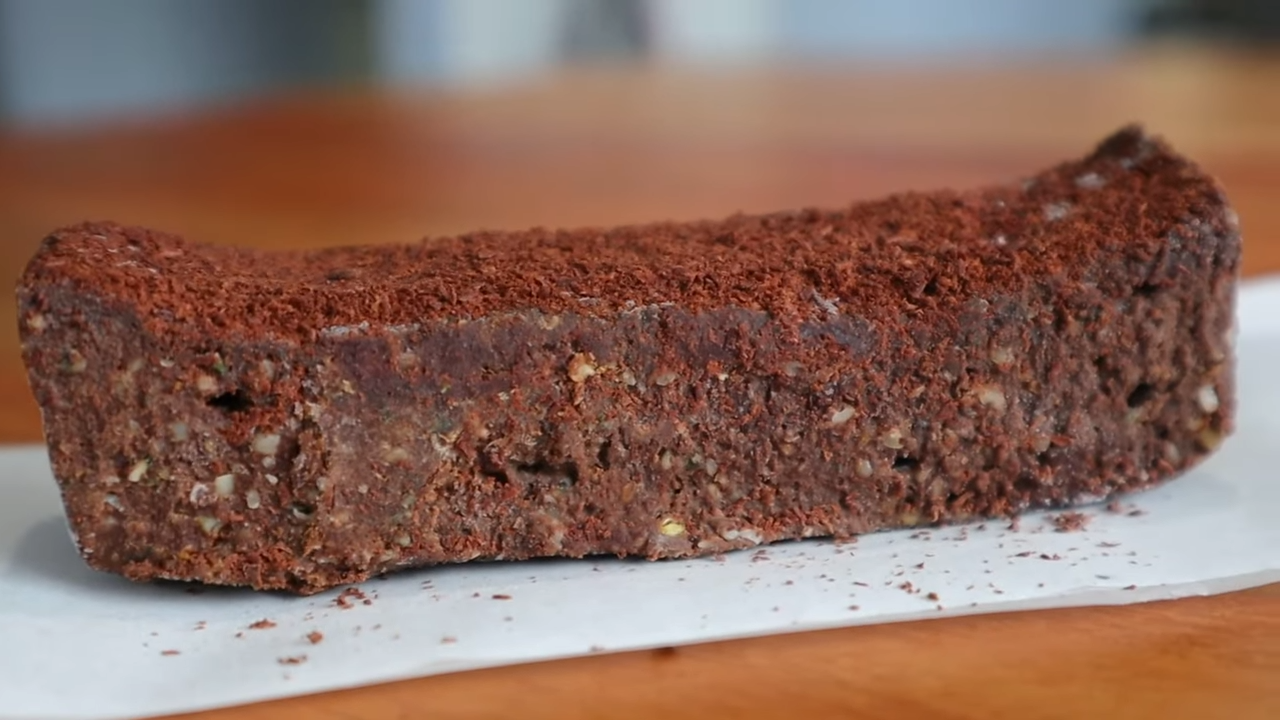
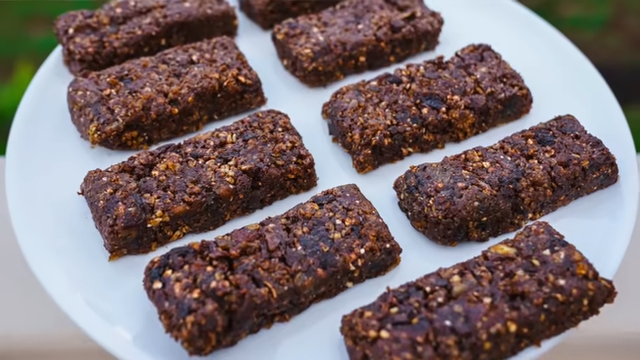
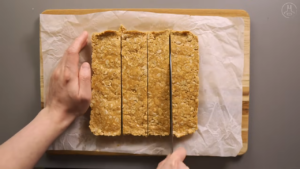
- Cut into bars: Once the bars are firm, lift the block out of the dish using the parchment paper. Transfer to a cutting board and slice into 10 bars.
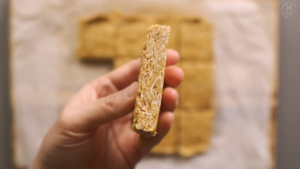
- Store and enjoy: Keep the bars in an airtight container in the refrigerator for up to a week or freeze them for longer storage.
Video
Notes
Consistency check: If the mixture feels too dry, add a little more almond milk. If it’s too wet, mix in more oats or protein powder until the texture is right.
No-bake option: Although these bars don’t require baking, you can freeze them for a firmer, chewier texture.
Nutritional Information (per serving)
- Calories: 200
- Carbohydrates: 18g
- Protein: 8g
- Fat: 10g
- Fiber: 4g
Bottom Line
And there you have it—delicious, no-bake, protein-packed bars that are perfect for when you’re short on time but require a wholesome snack.
With just a few simple ingredients, you can whip up a batch to enjoy throughout the week.
Whether you’re vegan, gluten-free, or just love an easy-to-make treat, these bars will hit the spot. Give them a try and say goodbye to boring snacks!